Have you ever dreamed of creating your own decadent chocolate bars, tailored exactly to your taste preferences? Get ready to embark on a delicious journey as we guide you through the process step by step. From selecting the perfect chocolate and mixing in delightful flavors to mastering the art of tempering, you’ll soon be savoring your homemade creations. So roll up your sleeves and prepare for a sweet adventure in chocolate making!
Choosing the Right Chocolate
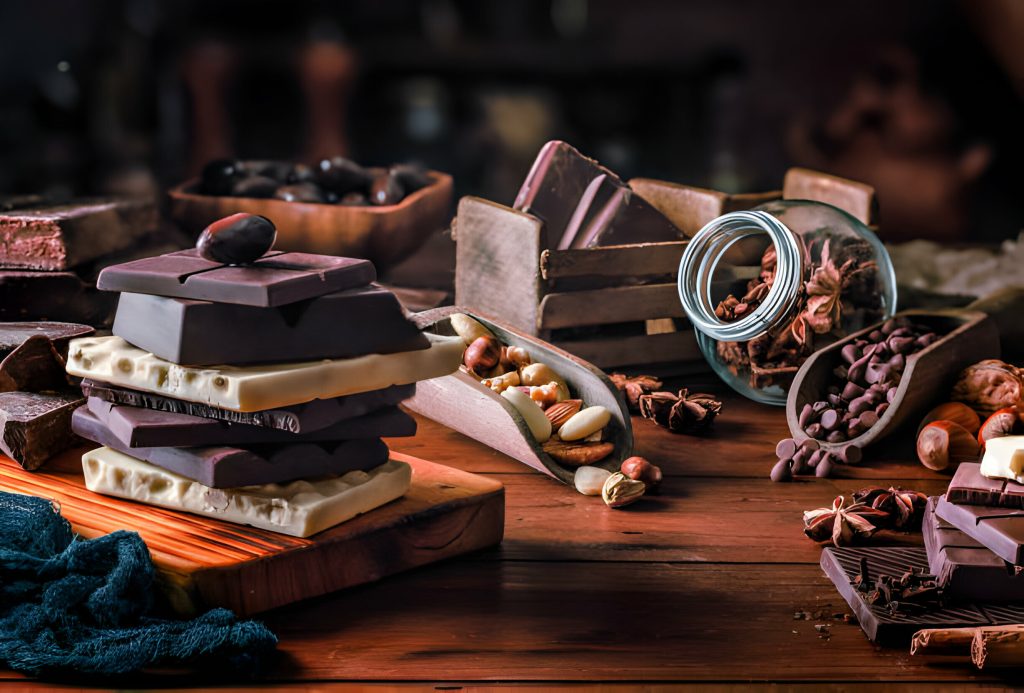
When choosing the right chocolate for your bars, make sure to consider the cocoa content. The cocoa content significantly impacts the intensity of flavor in your chocolate bars. Another crucial aspect is origin selection, as different regions offer unique flavor profiles based on their terroir. Consider your preferences when it comes to flavor profile; whether you enjoy fruity, nutty, or floral notes will influence your choice. Texture preferences also play a role; some chocolates are smooth and creamy, while others have a more robust texture with crunchy bits. Lastly, do a brand comparison to ensure quality and consistency in your final product. By weighing these factors carefully, you can craft delicious chocolate bars tailored to your liking!
Selecting Additional Ingredients
Before selecting additional ingredients for your recipe, be sure to consider the flavor profile you want to achieve. Ingredient pairing plays a crucial role in enhancing the taste of your chocolate bars. Experiment with different flavors like sea salt, nuts, or dried fruits to create unique combinations. Texture balance is also key; think about adding crunchy elements like toasted coconut or smooth components like caramel swirls. Customizing your recipe allows you to tailor the chocolate bars to your preferences. Don’t forget the importance of taste testing along the way – it’s essential to adjust flavors and textures until you achieve perfection. Enjoy the process of creating your personalized chocolate bars through thoughtful ingredient selection and experimentation!
Melting the Chocolate
As you’re melting the chocolate, ensure the heat is low and consistent to avoid burning or seizing. Whether using the double boiler method or the microwave technique, follow these steps for a successful melt:
- Stir constantly to prevent clumping or uneven texture.
- Avoid any water contact with the melting chocolate to keep it smooth.
- Check for a glossy and lump-free texture before removing from heat.
- Maintain a proper temperature throughout the melting process for best results.
Adding Flavorings
Adding flavorings to your melted chocolate can elevate the taste profile and provide a unique twist to your confections. Experimenting with different flavoring combinations, aroma infusion, and color enhancements can take your homemade chocolate bars to the next level. After adding the desired flavorings, it’s crucial to conduct taste testing to ensure the balance is just right. Additionally, consider playing around with textures by incorporating ingredients like nuts, dried fruits, or crunchy bits for added depth.
| Flavoring Combinations | Aroma Infusion |
|---|---|
| Orange Zest | Lavender |
| Peppermint | Vanilla |
| Salted Caramel | Cinnamon |
Try out these combinations and engage in some taste testing to discover what suits your palate best.
Tempering the Chocolate
Ensure you are carefully monitoring the temperature of your melted mixture when tempering to achieve that perfect glossy finish. When working on tempering chocolate, remember these key points:
- Temperature control: Use a thermometer to ensure your chocolate stays within the recommended temperature range.
- Chocolate texture: Proper tempering gives your chocolate a smooth and shiny appearance.
- Mixing techniques: Stir gently and consistently to evenly distribute the heat and cocoa butter.
- Cooling methods: Utilize marble slabs or seeding methods for controlled cooling.
- Taste testing: Always sample a small amount before pouring it into molds to ensure the flavor is just right.
Pouring and Spreading
When pouring and spreading melted chocolate, remember to work quickly to achieve a smooth and even coating. Make sure the chocolate is at the proper temperature for optimal consistency. To ensure even thickness, gently spread the melted chocolate using a spatula or knife in one fluid motion. Avoid overworking the chocolate to maintain a smooth surface without air bubbles or streaks. Handle the chocolate gently to prevent any uneven spots and aim for a uniform appearance throughout. By working swiftly yet delicately, you can create beautifully coated chocolate bars with an even layer of rich, glossy goodness that will make your homemade treats look as professional as those from a gourmet chocolatier.
Adding Toppings
To achieve a visually appealing finish on your homemade treats, gently sprinkle your chosen toppings over the melted chocolate before it sets. Get creative with combinations like sweet and salty or crunchy textures to elevate your chocolate bars. Here are some unique pairings to consider:
- Crushed pretzels for a sweet and salty contrast
- Toasted coconut flakes for a tropical twist
- Chopped pistachios for crunchy textures
- Dried cranberries for a burst of tartness
- Sea salt flakes for a gourmet touch
Experiment with different flavorful additions to add depth and excitement to your chocolate bars. Enjoy the process of making these delightful treats!
Cooling and Setting
Now that you’ve added your favorite toppings, it’s time to focus on proper cooling and setting. After decorating your chocolate bars, place them in a cool area at room temperature. This step is crucial for the chocolate hardening correctly. Remember, patience is key! Setting time can vary based on the type of chocolate used and the thickness of your bars; typically, it takes around 1-2 hours. Avoid rushing this process to achieve consistency in texture and flavor. Once set, check if the chocolate has hardened by gently touching the surface. Your delicious creations will be ready when they have a firm feel to the touch. Enjoy your homemade chocolate bars with pride!
Cutting and Storing
After finishing the cooling and setting process, it’s important to cut your homemade treats into equal portions for easy storing. Here are some tips to ensure your chocolate bars remain fresh and presentable:
- Proper cutting: Use a sharp knife to create clean edges.
- Effective storing: Place the bars in an airtight container to prevent moisture absorption.
- Ideal packaging: Consider wrapping each portion individually or using resealable bags.
- Quick wrapping: Wrap the bars swiftly to avoid exposure to air and potential spoilage.
- Neat presentation: Arrange the wrapped chocolate bars neatly in a storage container for easy access and an appealing look.
Packaging for Gifting
When giving gifts, remember to package your treats in a visually appealing and thoughtful way for an extra special touch. Get creative with your presentation by using seasonal themes like snowflakes for winter or flowers for spring. Consider adding personalized labels to make the recipient feel truly special. Opt for eco-friendly options like recyclable materials or reusable containers to reduce waste. If you’re feeling crafty, try DIY packaging such as handmade paper boxes or fabric wraps. By putting effort into how you package your homemade chocolate bars, you not only show that you care but also enhance the overall gifting experience. So get creative, personalize, think green, and enjoy the process of making your gifts truly stand out!


